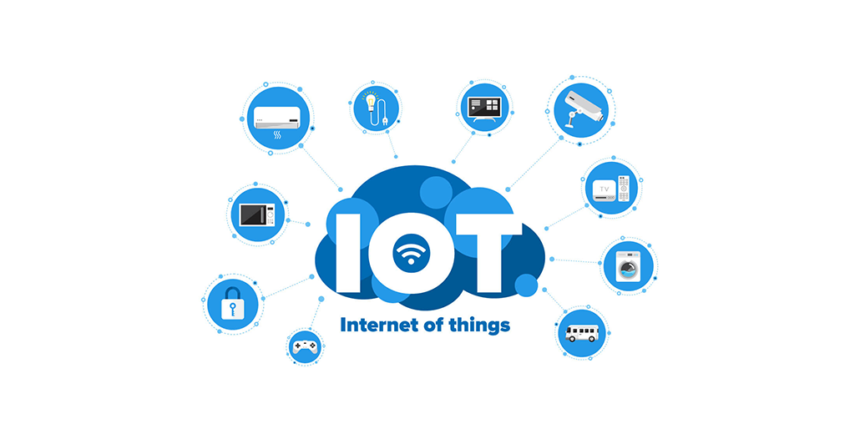
The Internet of Things (IoT) is revolutionizing the way we interact with the world around us. By connecting everyday objects to the internet, IoT allows for seamless communication and automation. One of the most versatile and affordable tools for diving into IoT is the Raspberry Pi. This tiny yet powerful computer can serve as the central hub for a myriad of IoT projects. In this blog, we’ll explore how to use a Raspberry Pi to connect and control devices, creating your own IoT ecosystem.
What You’ll Need
- Raspberry Pi (Model 3 or 4 recommended)
- MicroSD Card (16GB or larger)
- Power Supply for Raspberry Pi
- Internet Connection (Ethernet or Wi-Fi)
- Sensors and Actuators (e.g., temperature sensor, humidity sensor, relay module)
- Breadboard and Jumper Wires
- Python Installed on Raspberry Pi
- MQTT Broker (Mosquitto)
- Optional: IoT Platform Account (e.g., ThingSpeak, Adafruit IO)
Step 1: Setting Up Your Raspberry Pi
- Install the Operating System:
- Download and install Raspberry Pi OS on your microSD card using the Raspberry Pi Imager tool.
- Insert the microSD card into your Raspberry Pi, connect the power supply, and boot it up.
- Follow the on-screen instructions to complete the setup, including connecting to Wi-Fi and updating the software.
- Enable SSH (Optional but recommended):
- Enable SSH from the Raspberry Pi Configuration tool in the Preferences menu. This allows you to control your Pi remotely via your computer.
Step 2: Installing MQTT Broker
MQTT (Message Queuing Telemetry Transport) is a lightweight messaging protocol commonly used in IoT applications. We’ll use Mosquitto, an open-source MQTT broker.
- Install Mosquitto:
   sudo apt update
sudo apt install mosquitto mosquitto-clients- Start and Enable Mosquitto:
   sudo systemctl start mosquitto
   sudo systemctl enable mosquitto
Step 3: Connecting Sensors and Actuators
- Connect a Temperature and Humidity Sensor (DHT11/DHT22):
- Connect the VCC pin of the sensor to the 3.3V pin on the Raspberry Pi.
- Connect the GND pin to a ground pin (GND).
- Connect the Data pin to GPIO pin 4.
- Connect a Relay Module:
- Connect the VCC pin of the relay to the 5V pin on the Raspberry Pi.
- Connect the GND pin to a ground pin (GND).
- Connect the IN pin to GPIO pin 17.
Step 4: Writing the Python Script
- Install Required Libraries:
sudo pip3 install paho-mqtt Adafruit_DHT- Create a Python Script:
   import paho.mqtt.client as mqtt
   import Adafruit_DHT
   import RPi.GPIO as GPIO
   import time

   # Set up GPIO
   GPIO.setmode(GPIO.BCM)
   GPIO.setup(17, GPIO.OUT)

   # Sensor setup
   sensor = Adafruit_DHT.DHT22
   sensor_pin = 4

   # MQTT setup
   mqtt_broker = "localhost"
   mqtt_topic = "home/sensor"

   def on_connect(client, userdata, flags, rc):
       print("Connected with result code " + str(rc))
       client.subscribe(mqtt_topic)

   def on_message(client, userdata, msg):
       print(msg.topic + " " + str(msg.payload))
       if msg.payload.decode() == "ON":
           GPIO.output(17, GPIO.HIGH)
       elif msg.payload.decode() == "OFF":
           GPIO.output(17, GPIO.LOW)

   client = mqtt.Client()
   client.on_connect = on_connect
   client.on_message = on_message

   client.connect(mqtt_broker, 1883, 60)

   client.loop_start()

   try:
       while True:
           humidity, temperature = Adafruit_DHT.read_retry(sensor, sensor_pin)
           if humidity is not None and temperature is not None:
               sensor_data = f"Temperature={temperature:.2f}C Humidity={humidity:.2f}%"
               print(sensor_data)
               client.publish(mqtt_topic, sensor_data)
           else:
               print("Failed to retrieve data from sensor")
           time.sleep(10)

   except KeyboardInterrupt:
       print("Exiting...")
       GPIO.cleanup()
       client.disconnect()
client.loop_stop()- Run the Script:
python3 your_script_name.pyStep 5: Creating a Dashboard (Optional)
To visualize and control your IoT devices remotely, you can use an IoT platform like ThingSpeak or Adafruit IO.
- Create an Account and Channel:
- Sign up for an account on your chosen platform.
- Create a new channel and note down the API keys.
- Modify the Python Script to Send Data to the Platform:
- Use the platform’s API to send sensor data.
- Refer to the platform’s documentation for the specific API endpoints and required parameters.
Conclusion
By following these steps, you’ve set up a basic IoT system using Raspberry Pi. You can now monitor sensor data and control actuators remotely. The possibilities are endless, from home automation to environmental monitoring. As you become more familiar with IoT and Raspberry Pi, you can expand your project to include more sensors, devices, and advanced features. Happy tinkering!